Best 5 Screen Recorder Software to Capture Your Screen to Video

Screen recorder programs are always a great and necessary help for users who intend to create video demos, instructional video, presentations, application tutorials, etc. It’s almost not possible finish these tasks without a proper screen recorder. However, even when you are in an urgent need of screen recording, you should not panic and rush into payment. Take some time to do a small research and you will find there are plenty of choices out there. Here I’m going to recommend several screen recorder software I’ve personally used so that you can pick the one that suit you most.

Best Screen Recorder Software


Quick Overview: Best Screen Recorder Software


 PriceSimplicityCapturing FeaturesEditing FeaturesFormatsHelp & SupportOverall
Free ScreencastFree (5 / 5) (5 / 5) (1 / 5) (4.5 / 5) (5 / 5) (4.5 / 5)
EzvidFree (3.5 / 5) (3 / 5) (3.5 / 5) (5 / 5) (4.5 / 5) (4 / 5)
Camtasia Studio$249 (4.5 / 5) (2.5 / 5) (4.5 / 5) (5 / 5) (5 / 5) (5 / 5)
WebinariaFree (5 / 5) (2 / 5) (2 / 5) (3 / 5) (4 / 5) (3.5 / 5)
Apowersoft (Online)Free (5 / 5) (3.5 / 5) (4.5 / 5) (2 / 5) (5 / 5) (4 / 5)

Best  Screen Recorder Software

1. Free Screencast

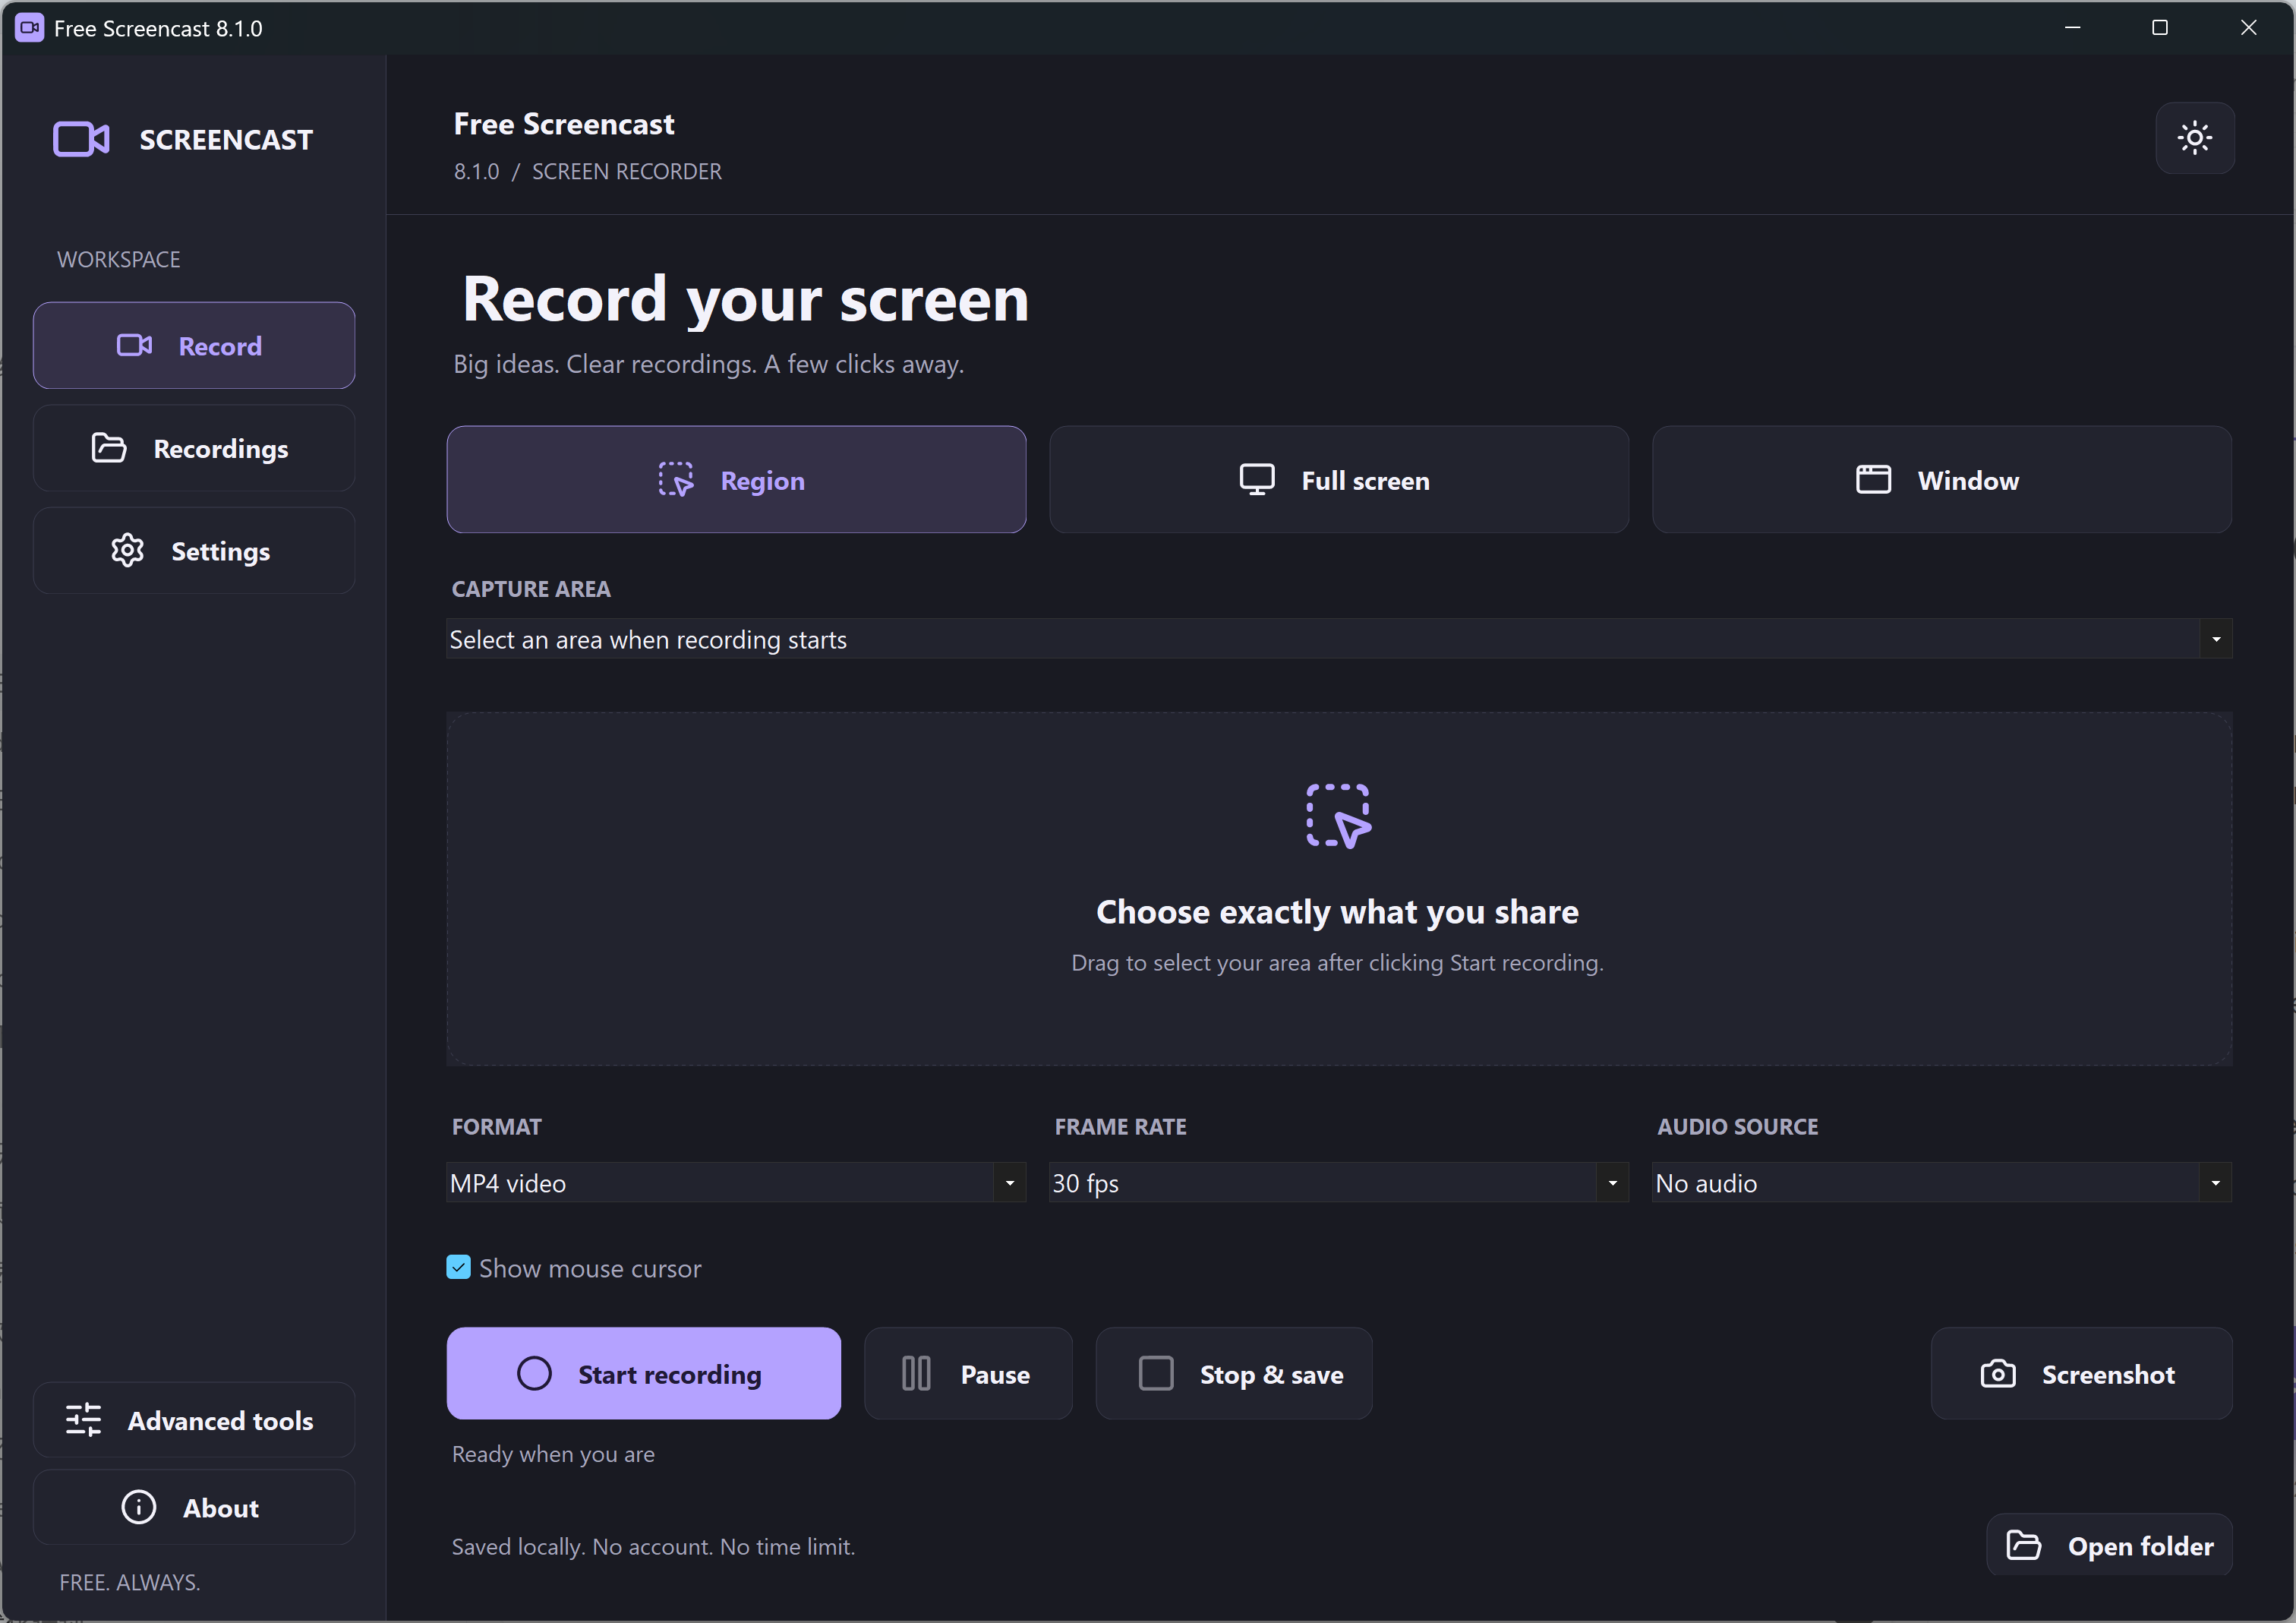
Free Screencast is one of the earliest software installed in my computer. I’ve been using it for many years to record some instructional video for my clients, and friends. It basically covers all necessary functions to capture screen. It can record computer screen with sound, and capture video via the webcam and IP camera. The amazing part is to add some filter effects and overlay feature. Compared to image overlay, I prefer to use text overlay in my video as watermarks. The text overlay include time-lapse feature. Once I even used it to spy on my dog by creating time-lapse recording with my webcam in the night. There are many features and what I mentioned here are just basics to introduce you to how it works. You can step onto homepage to find out more.

Free Screencast

Here is a Quick Tutorial of how to use Free Screencast. Free Screencast can do a lot more when it comes to recording video:

Download Free Screencast


2. Ezvid


Ezvid


Ezvid is another simple screen capture software I use from now and then. It can also easily create demonstrative video with sound. It uses TTS to generate narration voice out of the given text. It can upload your video directly to YouTube. There are also many adjustable options. One drawback is that their website is poorly designed and full of irrelevant stuff. You may need to spend a bit more time on figuring out how it works.


3. Camtasia Studio


Camtasia Studio


Camtasia Studio is more like a video production suite because it can record video, edit video, add transition effects, add subtitles and more. It uses multi-track editing to make video. As for screen recording, it is just like other common screen recorders, but it will output the recording as a project file instead of a playable video file. Then, you can input the project file into Camtasia Studio for further enhancement and rendering. It is much powerful than many of the screen recorders but it is not free – it takes $249 to purchase a single license and $99 to upgrade it to the latest version, if there’s any.


4. Webinaria


Webinaria


Webinaria, another screen capture app that can record your screen actions as well as sound. It is a very simple app with some basic screen recording settings. It does not provide more features than others but still, it earns its place by providing easy recording and YouTube uploading (Flash format only).


5. Apowersoft Free Online Screen Recorder


Apowersoft Free Online Screen Recorder


Sometimes I need to make a video immediately but the machine I got at hand is not equipped with the screen recorders I usually use, or for some reason they fail to launch or export video in a machine. That’s when I get things going with Apowersoft Free Online Screen Recorder. You just need to download a small launcher to start the recorder in your browser. It works fine except that there are less recording options to tweak. It is free to use. Meanwhile, it also provides a desktop version, which is not free. Yu need to pay $79.95 for a lifetime license for personal use and $159.9 for business.


How to Record Your Screen on Windows 11 with Audio

Need to record your screen on Windows 11 or Windows 10 with microphone or computer audio? This guide shows the complete workflow in Free Screencast, from choosing a capture area to saving a shareable video.

Recording the Windows 11 screen with microphone and system audio

Quick answer: Open Free Screencast, select Screen, choose the recording region, enable Audio Recording, select an output format such as MP4, and press F9 or click Record. Press Stop when finished and check the saved video before sharing it.

Download Free Screencast for Windows 11/10

Desktop software for Windows 11 and Windows 10. Your recording is processed on your PC.

Before you record

  • Close notifications and private windows that should not appear in the video.
  • Connect your microphone or headset before launching the recorder.
  • Run a short 10-second test so you can check volume, cursor visibility and video quality.
  • Make sure the destination drive has enough free space for a long recording.

How to record your screen on Windows 11 with audio

1. Install and open Free Screencast

Download the installer from this website, complete the Windows setup, and launch Free Screencast. The same workflow applies to Windows 10.

2. Choose the screen area

Select Screen as the video source. Use the preview and region controls to capture the full display or only the part needed for your tutorial. If more than one monitor is connected, choose the correct display. Turn cursor capture on when viewers need to follow your clicks.

Choose a screen recording region in Free Screencast

3. Enable microphone or computer audio

Open the Recording tab and enable Audio Recording. Then open the Audio tab to select the available input source and channel. For narration, choose your microphone. If your sound driver exposes a system-audio or stereo-mix source, select it to capture sound played by the computer.

Watch the input level before recording. The meter should move when sound plays, but it should not stay at the maximum level. If no signal appears, check Windows Settings > Privacy & security > Microphone and allow desktop apps to use the microphone.

4. Select video format and recording options

Choose a broadly compatible format such as MP4 for tutorials and sharing. Free Screencast can also work with formats including AVI, WMV, WebM and MKV. If you are unsure, use the default compressor and make a short test recording before changing advanced settings.

Optional tools let you schedule a start or stop time, create a new file at a chosen interval, add a text or image overlay, rotate the picture, or assign recording hotkeys.

5. Start, pause and stop

Click Record or press F9. Perform the actions you want to demonstrate at a steady pace. Use Pause when you need a break, then Stop when the demonstration is complete.

Start a screen recording with the Record button or F9

6. Review the result

Play the saved file from beginning to end. Confirm that the correct display was captured, narration is clear, computer audio is synchronized, and no private notification appeared. Rename the finished file descriptively before uploading or sharing it.

Free Screencast or the Windows 11 Snipping Tool?

Windows 11 includes basic video capture in Snipping Tool. Press Windows + Shift + R to start a video snip. It is convenient for a quick region recording. Free Screencast is useful when you want additional capture sources and controls such as webcam or IP-camera input, recording timers, overlays, format choices and configurable hotkeys.

Troubleshooting

The video has no sound

Confirm that Audio Recording is enabled, select the correct input device, and check Windows microphone permissions. Bluetooth headsets can expose separate playback and hands-free devices, so test each available input.

The recording is black

Try recording a normal desktop window first. Protected or hardware-accelerated video may block capture. Close the protected player, disable its hardware acceleration where permitted, or capture a different application window.

The file is too large

Record only the required region, select MP4, and reduce resolution or quality for material that does not contain small text. Always keep one high-quality original when the recording will be edited later.

The microphone is too quiet or distorted

Move the microphone closer, reduce background noise, and adjust its input volume in Windows Sound settings. Avoid maximum gain because it can introduce clipping and hiss.

Frequently asked questions

Does Free Screencast support Windows 11?

Yes. The current download is intended for Windows 11 and Windows 10.

Can I record only part of the screen?

Yes. Choose Screen and set the capture region in the preview instead of recording the entire display.

Can I record a webcam?

Yes. Select Device to use a connected webcam or compatible capture device. You can also use the Network option for a supported IP-camera stream.

Which format should I choose?

MP4 is the simplest choice for most tutorials and websites. WebM can be useful for web delivery, while AVI or MKV may be appropriate for particular editing workflows.

Start Recording on Windows 11/10

For more ideas, see how to add text and image overlays to a screen recording.

Please follow and like us: