Introduction
Working as a handy screencast creator application, Free Screencast has the ability to record all actions performed on the PC screen, a webcam or an IP camera into video in real time with or without audio. Get Free Screencast Now
Step 1. Choose the Recording Region
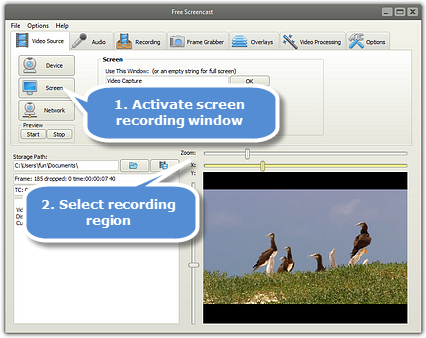
Launch Free Screencast and click “Screen” and you’ll see a preview window in full screen mode. If you want to record some special part of the screen, move the “Zoom” slider to zoom in/out, move the slider horizontally or vertically on the x/y-axis bar to select the recording region and click “OK” to confirm it. If you don’t want the cursor included, uncheck “With Cursor”. Enter the number of the needed monitor if there are more monitors connected with your computer.
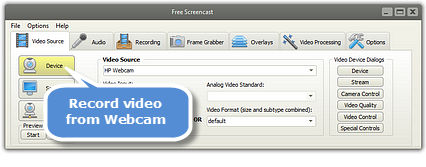
You are allowed to record video from Webcam and IP camera.
Click “Device” to choose the camera connected with your computer from “Video Source” dropdown list. Output video size and subtype can be specified separately or chose their combination from “Video Format”. Other settings can also be adjusted.
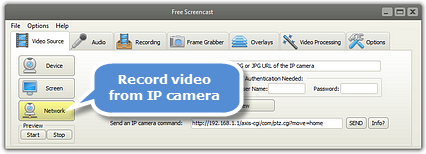
Click “Network” and enter the URL of the IP camera. Then, set connection and receive timeout. If authentication needed, enter your user name and password. Click “Start Preview” to monitor what is happening remotely. To control the IP camera, you can enter a command in “Send an IP camera command” and click “Send”.
Step 2. Specify Recording Settings & Start Recording
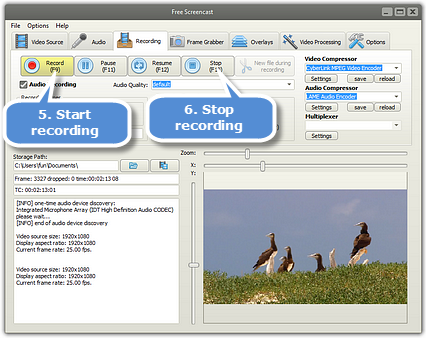
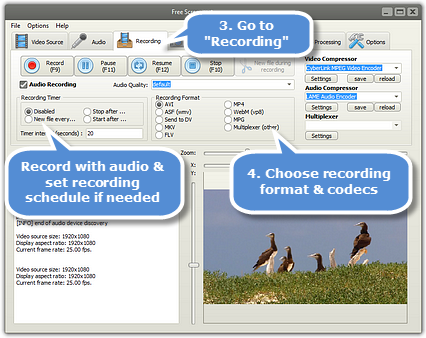
Click “Recording” tab. If you want to record video with audio, check “Audio Recording” and choose the audio quality from its dropdown list.
The recording format can be chose from AVI, ASF(WMV), MP4, FLV, MKV, WebM, etc. and codecs can also be easily chose from “Video Compressor” or customize it by yourself.
In “Recording Timer” section, check “Stop after/Start after” to set a recording timer to automatically stop/start recording after a certain period of time (counted in seconds). Check “New file every…” if you want to record multiple video clips in every desired time interval. Just enter the number of seconds in “Timer interval” field to adjust the time according to your need. To turn off the recording timer, check “Disabled”.
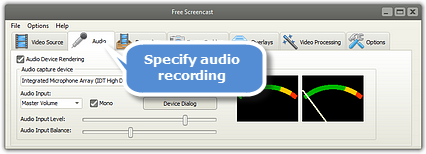
You can also go to “Audio” tab and specify the audio input source, channel, master input mix, balance, etc.
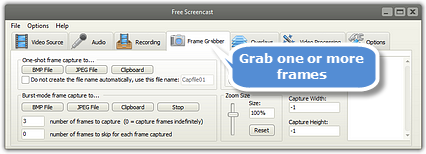
If you want to grab frames from video, click “Frame Grabber” tab. You are allowed to grab one or more frames once a time.
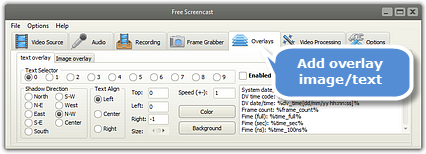
Click “Overlays” tab. You can add overlay image/text to your screencast.
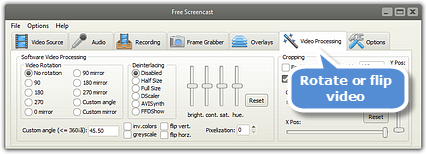
Click “Video Processing”. You can rotate or flip the video according to the degrees or angles you set.
Click “Options” to set your own hotkeys to start, pause, resume and stop recording in a single step.
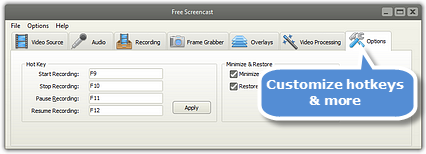
When everything is ready, click “Record” or press F9 to start recording. You can also pause, resume, and stop the recording.
